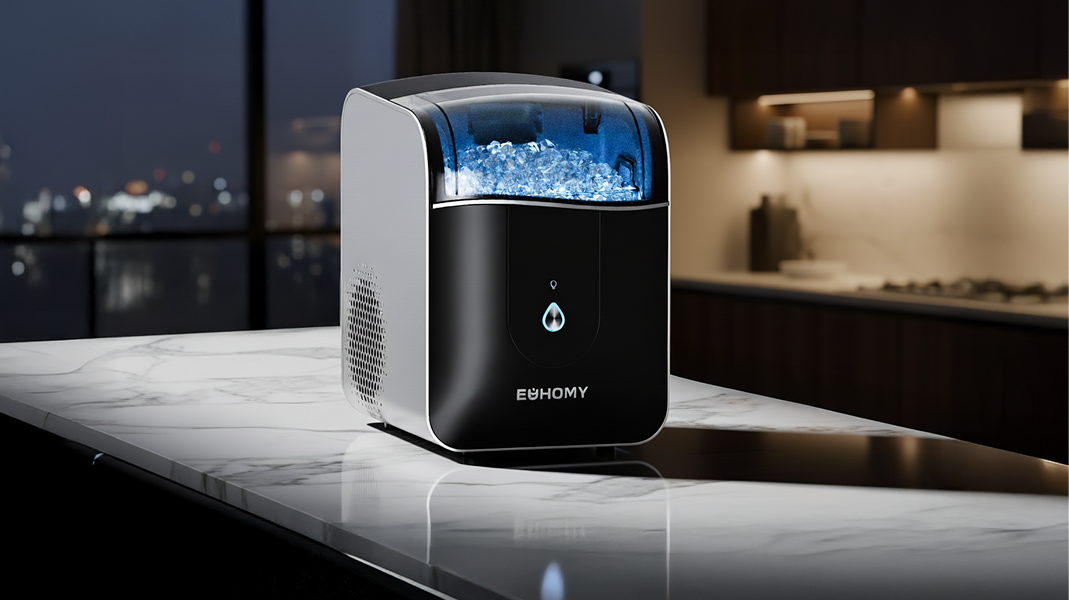
You step into the kitchen and hit a cold, wet patch on the floor with your socks. The fridge looks fine, the sink is dry, and then you notice a small puddle under your ice machine. An ice maker leaking might look like a minor mess, but water can quietly swell cabinets, stain floors, and even reach outlets if it spreads. Finding the real cause quickly helps you stop the leak and keep your ice maker working safely.
Safety First: What to Do Before You Inspect for Leaks
Once you see water, make the area safe before touching the appliance. An ice maker leaking on a wet counter or floor carries real risk if power is still connected.
Take these basic steps:
- Unplug the ice maker. If the outlet or the surrounding area is soaked, switch the circuit off at the breaker panel instead of pulling the plug with wet hands.
- Blot up standing water with towels so you are not kneeling in a puddle while you work.
- Move rugs, stools, cardboard boxes, and power strips away from the wet zone.
When the floor is dry and the ice maker has been disconnected from power, you can start looking for the source without worrying about slips or shocks.
Step 1: Identify the Source: Where Is the Water Coming From?
Guessing at causes rarely solves an ice maker leaking issue. You need to see the point where the water first appears, then follow it along its path.
Place the unit on a dry, level counter with good light. Check the front, sides, back panel, water line, and any drain hose for fresh drips or mineral streaks that show old leaks. Gently lift one side and look at the base for damp corners or moisture around the drain plug or rubber feet.
Then add a small amount of water to the reservoir, plug the machine back in, and let it run for a few minutes while you watch closely. If the leak appears only when the pump turns on, that points toward overfilling, a misaligned internal channel, or a loose hose. Seeping that continues even when the unit is off often traces back to a bad drain plug, a cracked reservoir, or a fitting that never fully seals.
Step 2: Fixing Common External Leaks (The Easy Fixes)
Many leaks on a countertop ice maker come from external parts that you can reach without tools. These quick checks often explain why an ice maker not making ice has also begun to leave a small puddle by the end of the day.
Focus on four basics:
- Drain plug seating. A loose or slightly cross-threaded drain plug at the base of the ice maker is a classic source of slow leaks. Remove it, clean away debris, inspect the gasket, then reinstall it firmly.
- Leveling. If the unit tilts forward or to one side, meltwater and condensate can spill over an internal edge and run out along a seam. Use a small level or a glass of water, then adjust feet or shims until the surface is flat.
- Water level. Look for a clear "MAX" line in the reservoir. Filling past that mark can cause splashing when the pump circulates water. Remove water until the level sits just below the indicator.
- Lid and gasket. A lid that does not close fully lets warm air in. Condensation forms and may drip off the edges. Wipe the gasket clean, remove any ice chips that block it, and close the lid firmly.
After each adjustment, run a short cycle with a modest amount of water and watch the base and counter. A dry floor after a few cycles usually means that the particular ice maker leaking problem is solved.
Step 3: Addressing Leaks from Internal Components
When the outside checks out, but water still appears, the next suspects sit just inside the shell. At this stage, stay within the parts the manual lists for regular cleaning, such as the ice basket, reservoir, and visible hoses. If the ice maker stopped making ice at the same time it started leaking, an internal flow problem becomes very likely.
Typical internal causes include:
- A flexible hose between the reservoir and freezing tray that has slipped partway off its fitting.
- A narrow channel that has shifted or developed scale so water spills before it reaches the tray.
- A small crack in the plastic reservoir or ice tray that only leaks once the water reaches a certain height.
Unplug the unit again, remove the ice basket, and gently lift any user-accessible covers. Press hoses back onto their barbs, straighten obvious kinks, and clear visible mineral deposits with a soft cloth and warm water. Avoid prying on metal coils or opening sealed panels, since those areas belong to the refrigeration system.
Stay alert for signs that the problem goes beyond plain water. Oily residue near metal tubing, together with a faint hissing or bubbling sound, can point toward a refrigerant leak rather than simple condensation. Under U.S. Environmental Protection Agency rules, technicians who maintain, service, repair, or dispose of equipment that could release refrigerants must hold Section 608 certification and follow approved recovery procedures. In that situation, stop troubleshooting and treat the unit as a sealed-system issue.
Step 4: When to Call a Professional Technician
Some situations fall outside the safe DIY zone. Continued tinkering with an ice maker not working properly can cause extra damage or violate local rules once refrigerants are involved.
Plan to contact manufacturer support or a local appliance technician when:
- The ice maker leaking continues after you have checked basics such as the drain plug, level, and water line.
- The unit produces very little ice, runs for unusually long cycles, or shows repeated error codes along with water inside the base.
- You see oily marks near the cooling lines, hear a persistent hiss from metal tubing, or notice an unusual chemical smell.
A certified technician can pressure-test the sealed system, replace damaged lines, and recharge refrigerant in line with EPA requirements, which protects both performance and environmental safety.
Tips to Keep an Ice Maker from Leaking
A common range for countertop ice maker cleaning is every 3 to 6 months, with more frequent cleaning when you use the machine heavily or notice buildup, always following your specific manual first.
You can use a simple routine:
- For occasional home use, wipe the exterior monthly, clean inside every 3–6 months, and glance at the floor for small puddles after each use.
- For daily family use, rinse the bin and reservoir weekly, descale every 1–3 months, and check hoses and the drain plug monthly.
- For party or seasonal use, clean before and after events, confirm the unit is level, and make sure the drain plug is fitted each time you set up.
Use filtered water when possible to reduce mineral deposits, leave a few inches of free space around the sides and back so warm air can escape, and check that the unit still sits level whenever you move it on a counter or in an RV.
Bring Your Ice Maker Back to Normal
A leak under an ice machine can feel like a disaster when you worry about cabinets and floors, yet most problems come from a short list of repeatable causes. When you cut power first, watch carefully to see where water forms, and move step by step from simple external checks to basic internal inspections, many ice maker leaking situations can be handled at home. Persistent leaks, oily residue, strange sounds, or repeated error codes are a clear sign to pause and call a certified technician instead of opening sealed parts. That balance keeps your kitchen dry, your appliance in good shape, and your drinks full of clean, clear ice.
FAQs About Ice Maker Leaks
Q1. Why is my ice maker not working and leaking water at the same time?
When an ice maker not working also releases water, the machine may be struggling with both flow and cooling. A loose hose, misaligned fill channel, or an overfull reservoir can send water into the base instead of the tray. If basic checks do not stop the leak, treat the unit as needing professional service rather than continuing to run it while wet.
Q2. Is it okay to use a leaking countertop ice maker for a short time?
It is risky to keep running a leaking ice machine. Water can reach wiring, drip into outlet strips, and soak into cabinet bases where mold may develop. Short tests during troubleshooting are reasonable when you stay nearby and the area is dry, yet leaving an ice maker leaking unattended turns a simple maintenance issue into possible electrical and structural damage.
Q3. How do I know if the leak involves refrigerant instead of plain water?
Plain water leaks usually look clear and leave little scent. Signs that point toward a sealed-system problem include oily residue near metal tubing, a faint chemical or musty smell, and hissing or bubbling from the cooling lines, together with ice output that suddenly drops. When those clues appear, unplug the appliance, avoid further disassembly, and contact a technician who can work on refrigerant systems safely.

Leave a comment
All comments are moderated before being published.
This site is protected by hCaptcha and the hCaptcha Privacy Policy and Terms of Service apply.