Cloudy cubes, strange smells, or an ice maker not making ice can feel like the beginning of a big repair bill. In many homes and small businesses, the problem is much smaller: a tired water filter. Once you understand why the filter matters, how to pick a compatible replacement, and how to change it safely, keeping your system in shape turns into a simple maintenance habit.
Why Your Ice Machine Water Filter Needs Regular Replacement
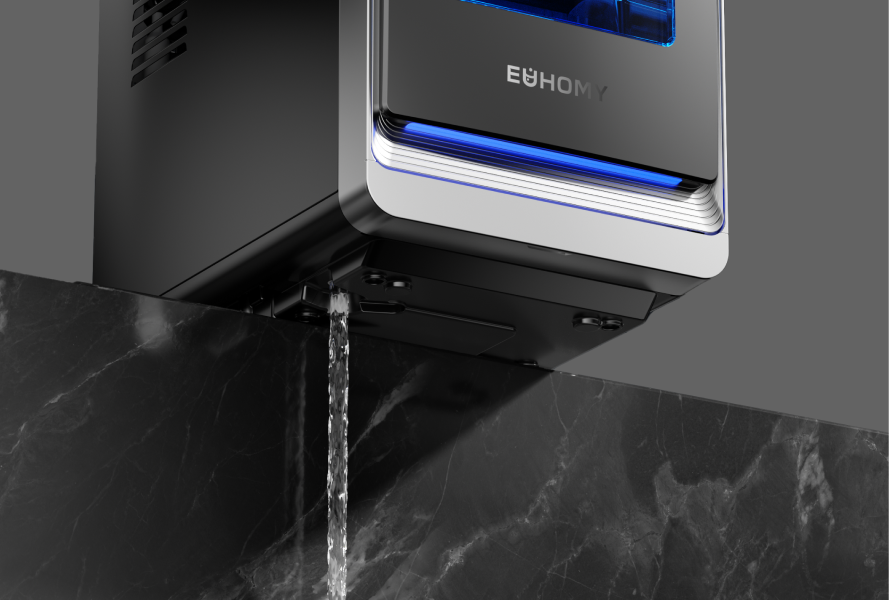
An ice machine freezes whatever comes out of your tap. That water usually contains sediment, chlorine, and dissolved minerals. A dedicated filter catches particles and uses activated carbon to reduce chlorine taste and odor, so ice tastes clean and smells neutral instead of like tap water.
Filtration also protects internal parts. Minerals that slip past a worn filter can settle on cold metal and form hard scale on evaporator plates, valves, and tubing. Over time, that buildup makes it harder for the machine to exchange heat, so production slows and energy use climbs. Service companies regularly trace poor performance and frequent breakdowns to untreated or poorly filtered water.
Most appliance manuals and service recommendations land on a simple rule of thumb: replace the filter about every six months, sooner if usage is heavy or local water is very hard or dirty. A portable ice maker in a home bar and an undercounter ice maker in a small café both benefit from that schedule. Regular changes cost far less than repairs or early replacement of the whole unit.
Signs It’s Time to Replace Your Water Filter
Filters rarely go from perfect to useless in a single day. Performance fades step by step, and the machine gives early hints long before it stops. Paying attention to those changes helps you act before guests or customers face an empty bin.
Common warning signs include:
- Cloudy or white ice: Fresh filters capture fine sediment more effectively. When a cartridge reaches the end of its life, small particles and air bubbles slip through and show up as a cloudy center or milky look in each cube.
- Strange taste or odor: Activated carbon eventually saturates. Once it stops reducing chlorine and organic compounds, ice can taste chemical, metallic, musty, or simply “off.” If drinks now taste worse with ice in them than without, the filter is a strong suspect.
- Slow ice production or smaller cubes: A clogged filter restricts water flow. Trays may not fill properly, so cubes come out undersized or take much longer to harvest. People often notice that the bin never quite fills the way it used to.
- No ice plus weak water flow: In systems that share a filter between the dispenser and the ice unit, reduced flow at the drinking tap alongside an ice maker stopped making ice almost always points toward a blocked cartridge rather than a failed compressor.
- Filter reminder light or time interval reached: Many machines track run time or water volume and display a change-filter message. Even if the ice still looks acceptable, changing the filter when that light appears or at the six-month mark keeps water quality stable.
One symptom on its own may come from another cause. Several of these together strongly suggest that water is no longer moving through an effective filter.
Choosing the Right Replacement Filter for Your Ice Maker
A successful ice machine water filter replacement begins before you touch a wrench. The best source of truth is the combination of your owner’s manual and the old filter body. Together, they tell you what the machine expects and which plumbing style you have.
Check the existing cartridge for:
- Model number or series
- Rated capacity in gallons or liters
- Micron rating (for example, 5 µm)
- Flow direction arrow and connection type
Take a clear photo before you remove it so you can match these details accurately.
Different machine setups use different approaches:
- An undercounter ice maker usually connects directly to a cold-water line and uses an inline or head-mounted cartridge on that line.
- A countertop ice maker with a water line also relies on a plumbed connection, even though it sits on a counter.
- A reservoir-fed portable ice maker often has no internal filter at all, so the water should be treated by a faucet filter, under-sink system, or pitcher before it reaches the machine.
For plumbed systems, focus on three main factors:
- Sediment control: Sediment filters capture sand, rust, and other visible particles. Many installers choose around a 5-micron rating for ice applications, which provides good protection without choking off flow.
- Taste and odor improvement: Carbon block filters designed for drinking water reduce chlorine taste and smell. Labels that mention testing to drinking-water performance standards for taste and odor give extra confidence that cubes will not pick up unpleasant flavors.
- Scale reduction in hard water areas: If local water leaves spots on glassware or heavy deposits in kettles, consider a cartridge that includes scale-control media. It does not replace full water softening, yet it can slow mineral buildup and make cleaning easier.
Connection style matters as much as filtration. Many inline cartridges use quarter-inch quick-connect fittings. Others twist into a head assembly. Matching those fittings, watching the flow arrow, and replacing worn housings or clips at the same time prevents leaks and saves you from hunting for countertop ice maker replacement parts later.
How to Replace the Water Filter: A 5-Step Guide
Once the correct replacement is in hand, the physical swap is usually straightforward. Details vary slightly between brands, yet most residential and light commercial installations follow a similar pattern.
- Shut off water and cut power: Find the shutoff valve feeding the filter and close it completely. Then unplug the ice machine or switch off the circuit. That order reduces spill risk and keeps the unit from trying to cycle while you work on the line.
- Release pressure and protect the area: Open a nearby faucet or use a drain point to release pressure trapped in the line. Place a towel or shallow container under the filter. A small amount of water almost always pours out when you disconnect the old cartridge.
- Remove the old filter: For inline filters with quick-connect fittings, push the collar on the fitting in toward the body while pulling the tubing straight out. For twist-in cartridges, rotate in the direction indicated on the head until the filter drops free. Note which side faces the supply and how the tubing runs through the brackets.
- Install the new filter in the correct direction: Inspect the tubing ends for cracks or flattened sections. Trim a short piece if needed so the end is clean and square. Push the tubing firmly into quick-connect fittings until it bottoms out, or twist the new filter into the head until it locks. The flow arrow must point from the supply side toward the ice machine.
- Restore water and check for leaks: Open the shutoff valve slowly while watching each joint. If you see a drip, close the valve, reseat the tubing, or retighten fittings, then test again. Once every connection stays dry, restore power and allow the machine to begin its normal cycle.
If you plan to add a new water line for an undercounter ice maker or upgrade plumbing to feed a countertop ice maker with a water line, consider using a licensed plumber for the new piping. After the initial installation, routine filter changes follow this same pattern.
Post-Installation: Flushing and Resetting Your Ice Machine
A fresh filter contains trapped air and loose carbon dust from manufacturing. Those need to wash out of the system before anyone uses the ice. The exact volume varies by cartridge size, although a few gallons of water is a common recommendation.
Run cold water through the new filter into a sink or bucket until the stream looks clear and free of air spurts. After that, let the machine complete one or two full ice harvests, then discard those first batches. Ice that comes later reflects the true performance of the new filter.
If your unit includes a filter indicator, use the reset button or menu option described in the manual so the reminder timer starts fresh. Many machines also provide a cleaning or sanitizing cycle. Running that cycle soon after an ice machine water filter replacement leaves both the water path and the storage bin in better condition.
Tips to Extend the Life of Your Portable or Undercounter Ice Maker

Filter changes work best alongside a few simple habits, and a short maintenance checklist keeps the system healthier without demanding much time.
- Use filtered or bottled water in a reservoir-style portable ice maker instead of untreated tap water to improve taste and slow mineral buildup.
- Clean the interior with a quick wipe and rinse every few weeks and perform deeper descaling several times a year so odors and stubborn deposits do not have a chance to form.
- Maintain good airflow by leaving clearance around vents, dusting the condenser area periodically, and keeping any undercounter ice maker out of tight, hot cabinets so it can produce ice consistently.
- Inspect hoses and fittings for sharp bends, aging rubber, and damp spots, and replace small gaskets, hoses, or other countertop ice maker replacement parts before they turn into leaks inside cabinets or walls.
- Empty the bin, drain the reservoir, and let the interior dry after a final cleaning cycle whenever the machine will sit unused for weeks, so the next startup has fewer smells and less residue to handle.
These steps work together with filtration to keep ice production predictable and make the cubes pleasant to use in everyday drinks.
Clear Ice and Reliable Performance Begin with a Fresh Water Filter
Every batch of ice is a snapshot of your water quality and the condition of the filter that treats it. Regular ice machine water filter replacement, combined with basic cleaning and occasional checks, preserves taste, limits mineral buildup, and cuts the odds of sudden breakdowns. A small cartridge and a short maintenance session every few months protect the much larger investment in the ice machine itself.
FAQs About Ice Machine Water Filter Replacement
Q1: How often should an ice machine water filter be replaced?
Many technicians and appliance manuals recommend a change roughly every six months. High usage, very hard water, or repeated taste and odor complaints are good reasons to replace it sooner. Some systems also track water volume and trigger a reminder light at the appropriate time.
Q2: Can a clogged filter cause an ice maker not making ice anymore?
Yes. A badly clogged cartridge can choke water flow so much that trays do not fill and the unit pauses production. Weak flow at a dispenser and low or no ice in the bin often appear together when the filter is overdue. A fresh cartridge frequently restores normal output.
Q3: What if my machine has no built-in filter?
Many compact or reservoir-fed units contain no internal cartridge. In that case, treat the water before it reaches the machine by using bottled water, a faucet filter, an under-sink system, or a pitcher filter. That still improves taste and slows mineral deposits on internal surfaces.
Q4: Is it safe to postpone a filter change for a long time?
Stretching intervals gradually reduces taste and odor control and allows more sediment and minerals into the system. Old filters can clog, encourage biofilm, and reduce flow, which strains valves and other components. For long-term reliability, consistent replacement is safer than waiting until performance collapses.


Leave a comment
All comments are moderated before being published.
This site is protected by hCaptcha and the hCaptcha Privacy Policy and Terms of Service apply.