Cold snaps rarely ruin appliances on their own. Trapped water and stale moisture do the harm. The most common off-season failures on a home ice maker are hairline cracks in water paths, a stuck circulation pump, and a sour smell that lingers into spring. All three have the same root cause. Water hides in lines and trays, then expands as temperatures drop; meanwhile, leftover film becomes odor and off-tastes. A clean, dry, upright unit avoids those headaches. The routine below mirrors how modern countertop and portable designs are built, so you can store the machine confidently and bring it back without drama.
Winterizing Your Ice Maker Is Essential
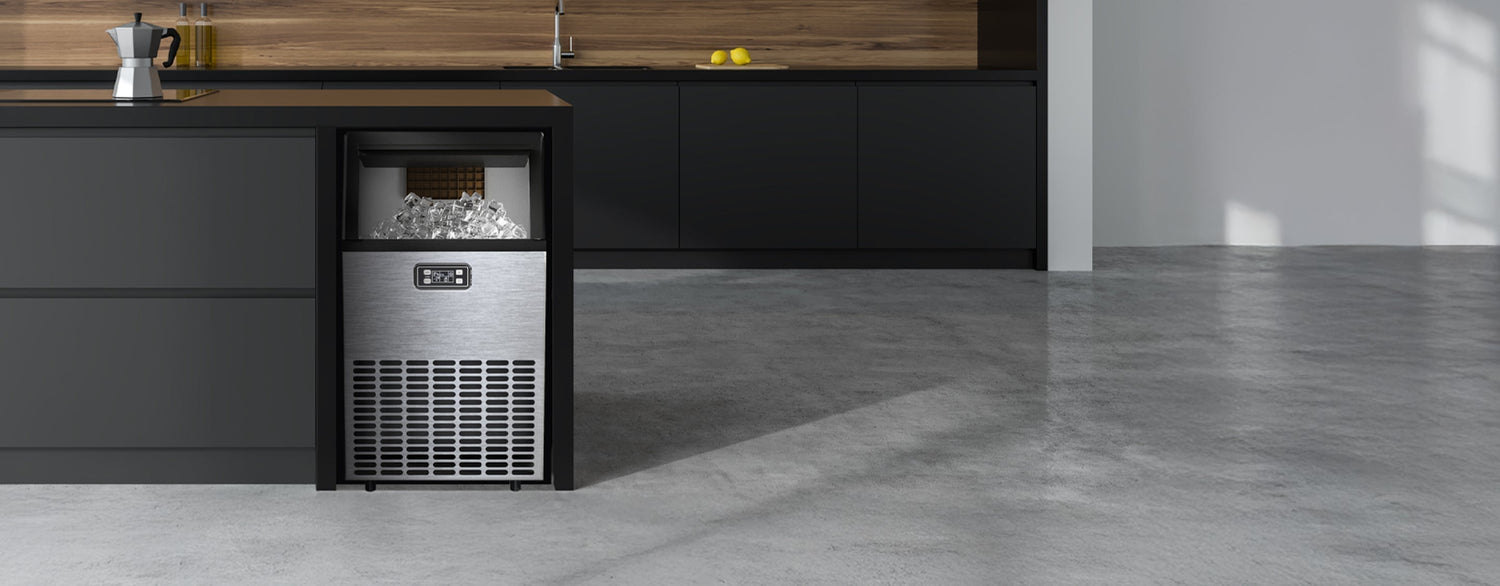
Inside the housing, narrow channels carry water across a chilled surface that forms cubes or nuggets. Any water left behind expands when it freezes and forces parts apart. Repeated freeze-thaw stress weakens seals and thins plastic at corners. Hygiene matters as much as mechanical protection. Standing water nurtures biofilm, and mineral residue speeds up scaling, which dulls the evaporator and slows production the next time your ice maker runs. A short winter routine eliminates freeze risk, interrupts odor formation, and preserves performance.
When Should You Winterize Your Ice Maker?
Think in terms of time and temperature. If the unit will sit unused for two weeks or longer in a space that can dip near freezing, treat that as your trigger. A machine in a garage, shed, RV, or seasonal cabin qualifies. Owners of a portable ice maker who move between homes should also winterize before transport, even if the destination is heated. Continuous use in a warm kitchen is different. In that case, keep up a weekly cleaning and move finished cubes to a freezer, since countertop machines do not hold ice cold for long. If the pause is long or the storage is cold, winterize. If use is steady and indoor, clean and monitor.

Step 1: Turn Off and Disconnect Your Ice Maker
Shut the machine down, unplug it, and empty the basket. Transfer usable ice to your freezer so meltwater does not cycle back into the reservoir. If your model connects to a supply, close the valve and detach the tubing to prevent refills during handling. Wipe the lid and exterior while the unit is still in place. Coil the cord loosely and keep it off the floor. These small habits keep water away from the chassis and make the next steps easier.
Checklist
- Power off and unplug
- Move any remaining ice to your freezer
- Close the supply valve and disconnect tubing if present
- Wipe exterior surfaces and clear workspace
Step 2: Deep Clean Your Ice Maker Before Storage
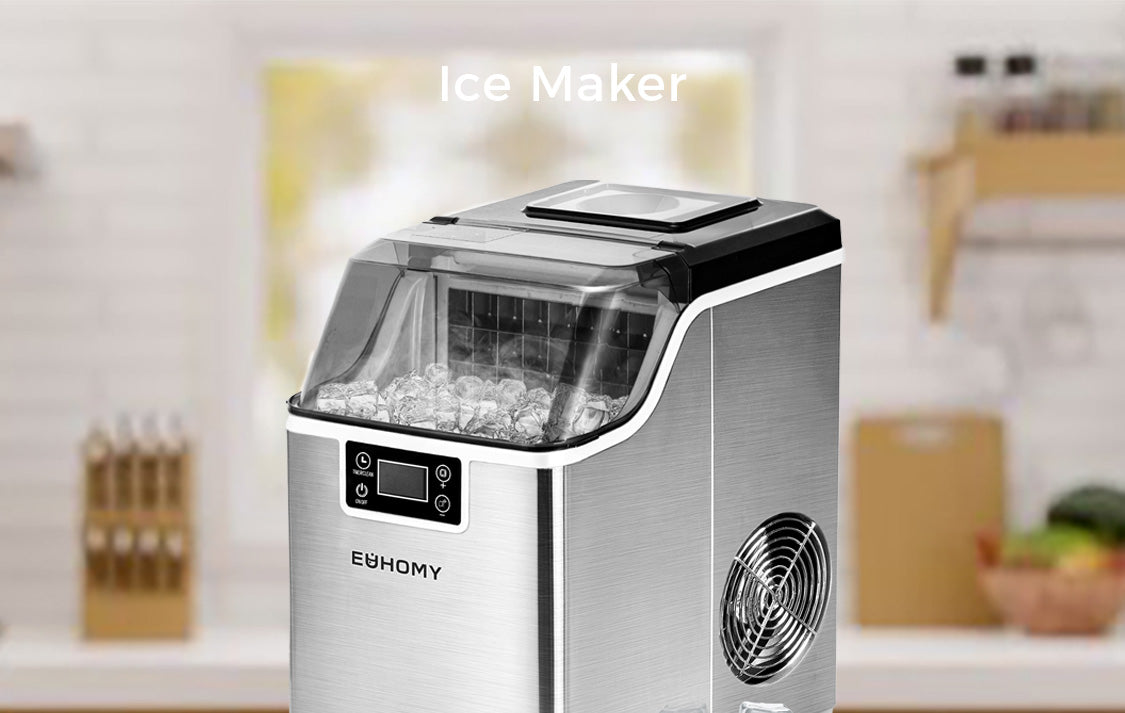
A thorough wash reduces odor and speeds spring setup. Many countertop models include a self-clean program that circulates water for a timed cycle. Fill the reservoir to the max line with fresh water and a food-contact safe cleaner, then hold the Clean button as shown on your control panel. While the program runs, wash the basket, scoop, and any removable screens in warm soapy water, rinse well, and set them aside to air dry. If you see chalky spots, a citric-acid solution breaks them down without harsh fumes. Rinse until no scent remains.
Owners often ask how to deep clean the countertop ice maker parts they can remove. The approach above covers that job with basic supplies. When the cleaning cycle ends, drain fully, refill with plain water, and run one or two rinse cycles so the interior is neutral before storage.
Quick reference
- Run the self-clean program with a compatible cleaner
- Hand-wash removable parts and rinse thoroughly
- Drain completely, then run clean-water rinses
Step 3: Drain All Water from the System
Residual water is the enemy. Move the unit near a sink or place a shallow pan under the rear drain. Open the plug and let the reservoir empty. Tip the machine slightly forward and back to clear pockets that trap drips around the trough and pump inlet. If your model includes a drain hose, connect it so water flows away from the base. Inspect the plug and O-ring and reseat them once the flow has stopped. A careful drain prevents freeze damage and shortens drying time for the ice maker.
Helpful checks
- Confirm a steady outlet stream that does not splash the base
- Look for wear on the plug seat and O-ring
- Wipe standing droplets before closing the drain
Step 4: Dry the Interior Completely to Prevent Mold
Dry plastic, metal, and seams deny mold a foothold. Leave the lid open so air moves through the cabinet. Remove the basket and scoop and set them on a clean towel beside the machine. A microfiber cloth wicks moisture from tight edges around the evaporator, sensor window, and hinge pockets. In humid regions, place a small open box of baking soda nearby during the day of drying. Give the countertop ice maker a full twenty-four hours with the lid ajar so hidden corners lose moisture before storage.

Step 5: Sanitize and Protect Internal Components
Finish the water path with a food-safe sanitizer. Dampen a soft cloth, wipe the evaporator fingers, trough, and splash areas, then follow with a second cloth lightly dampened in clean water. Avoid abrasive powders or strong chlorine solutions that can mark plastic and degrade coatings. Reinstall the basket and scoop only when they are completely dry. One more habit improves results later. Filtered water reduces hardness and organics, so the unit stays cleaner and cubes taste better on the first run after storage.
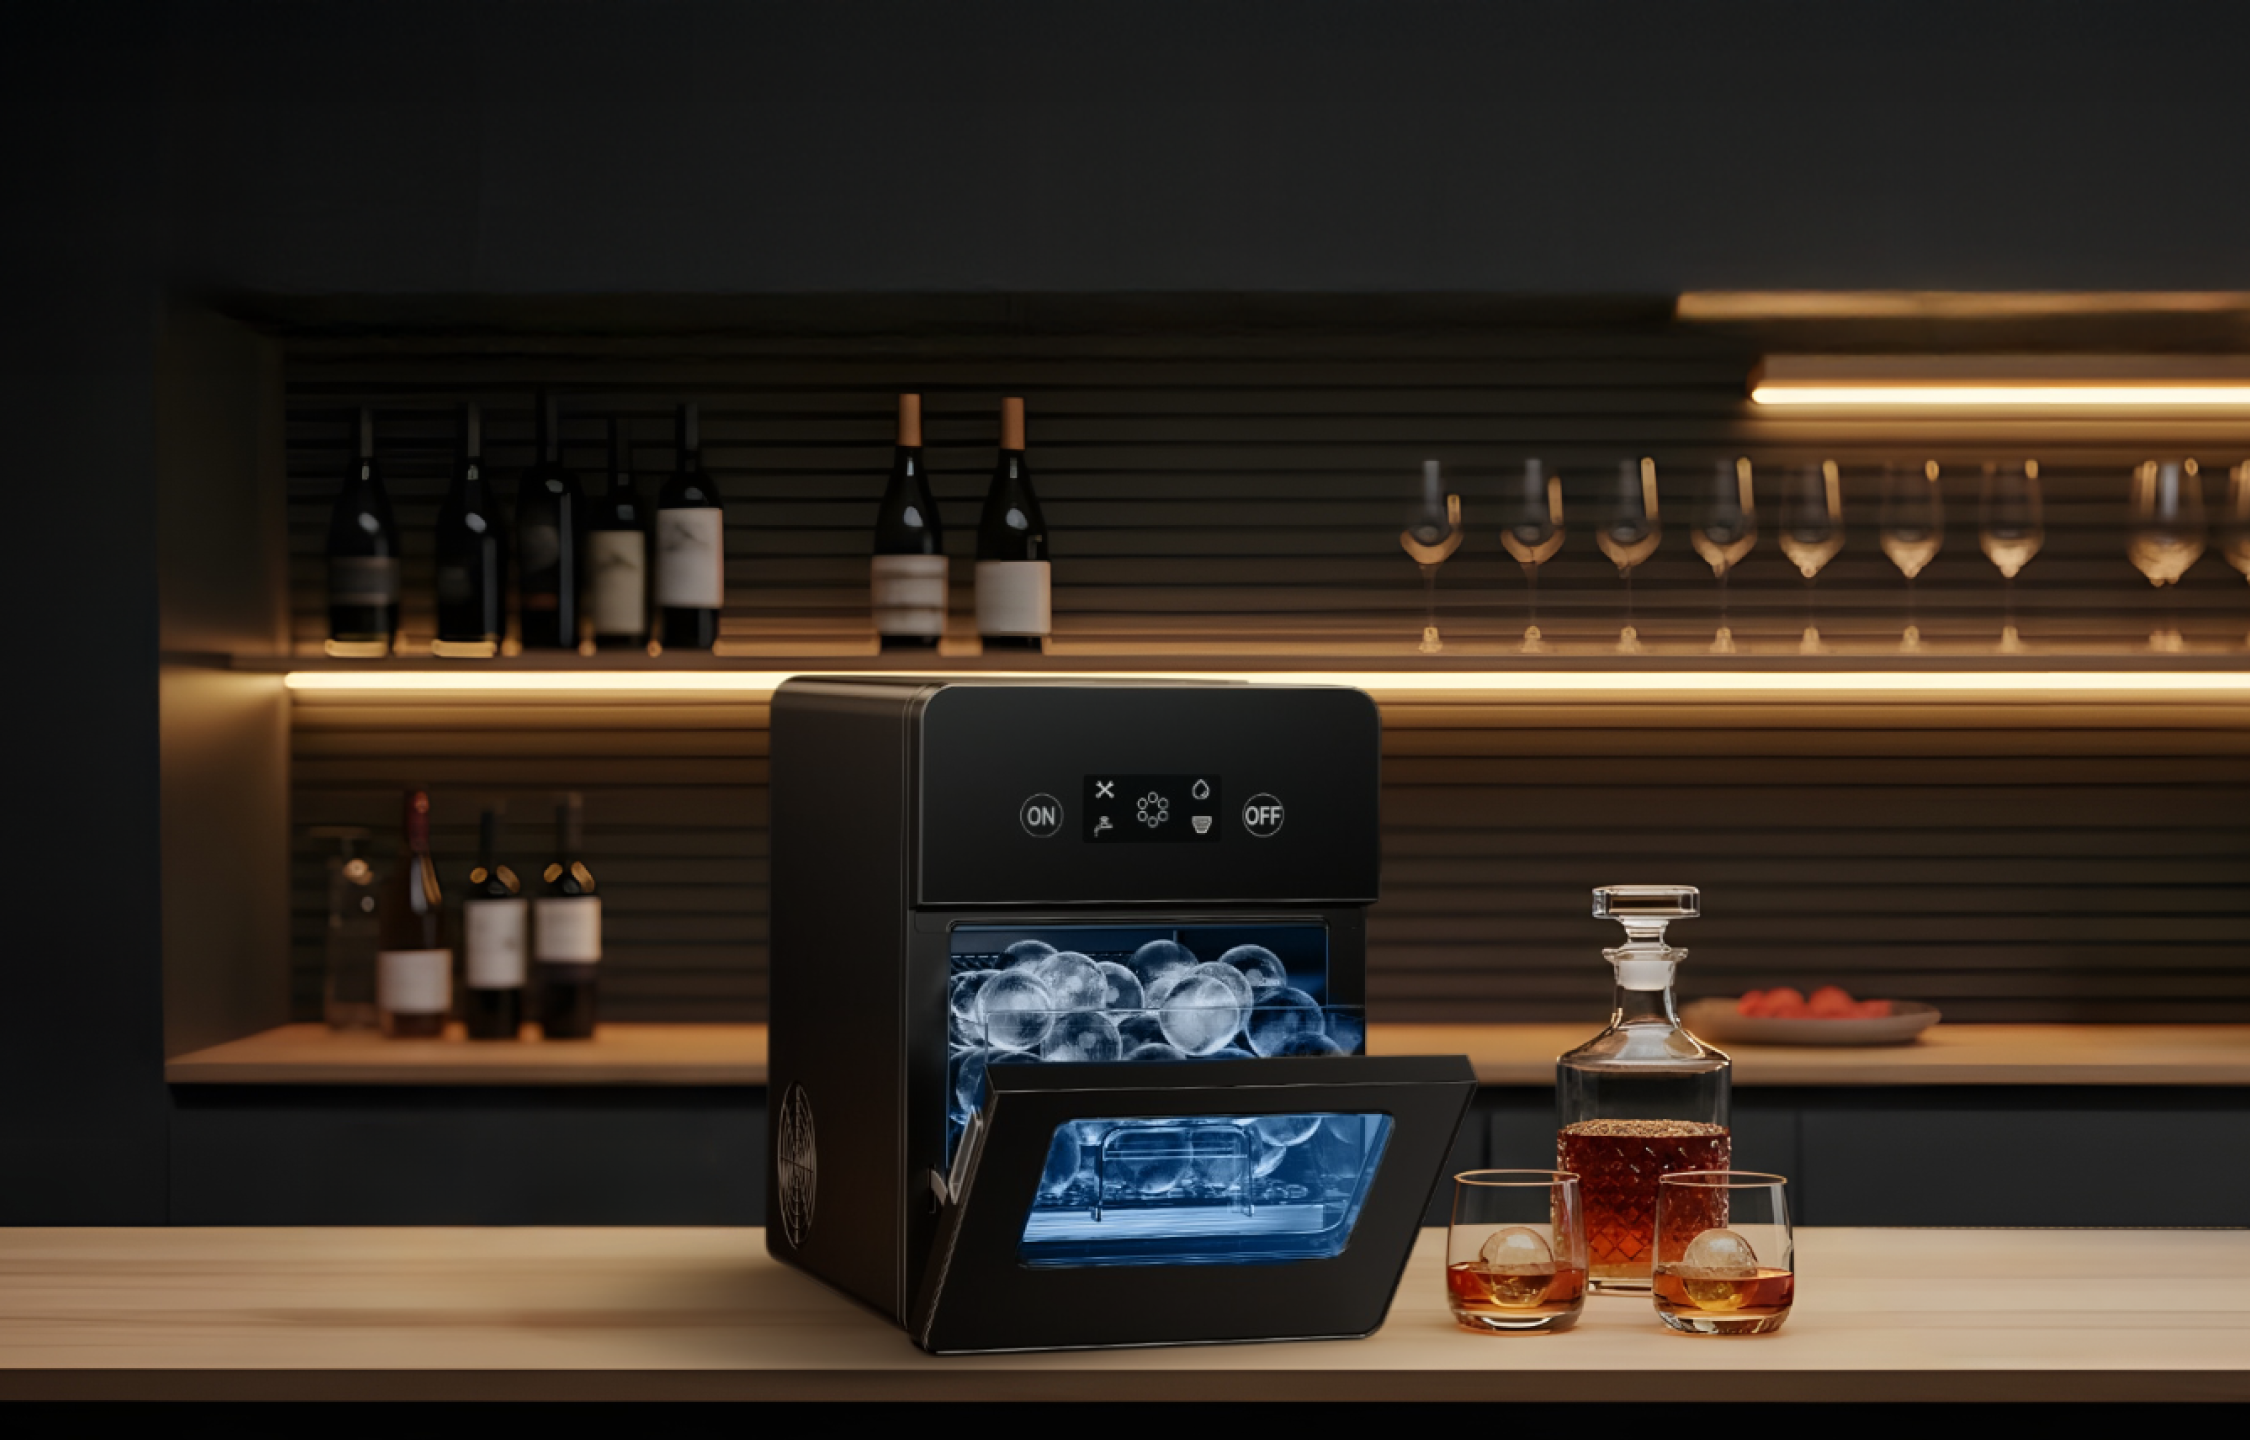
Step 6: Store Your Ice Maker Properly for Winter
Storage comes down to temperature, airflow, and posture. Keep the unit indoors, above freezing, and off the floor. Leave the lid slightly open so the interior breathes. Do not stack heavy items on a small ice maker, since pressure can bow the lid or stress hinges. Transport upright and avoid long rides with the unit on its side. An ice maker portable enough for travel still depends on oil inside a sealed system. Upright storage protects that system and prevents noisy starts. Stash the cord where you can reach it easily at restart, and label the box with the model name and any small parts inside so nothing goes missing during spring cleaning.
Packing tips
- Store upright on a stable shelf in a heated space
- Vent the interior by leaving the lid cracked open
- Cushion the sides if the unit will travel to storage
How to Restart Your Ice Maker After Winter Storage
Bring the machine into a heated room a day before you plan to make ice. Place it on a level counter and let it rest upright for at least one hour before powering on. If the unit was tipped on its side during transport, extend that rest period up to a day as a precaution. Fill with filtered water and run one full cleaning cycle, then drain and refill with fresh water. For optimal taste, discard the first batch or the first few batches of ice so any trace water clears the system. Confirm the drain plug is tight, indicator lights behave as expected, and the basket slides freely. At that point, the ice maker should return to normal production without odor or unusual noise.
Post-restart checks
- Ice looks clear and smells neutral
- No drips in the rear drain area
- Add Water and Ice Full indicators respond normally

Winter-Ready: A Recap on Protecting Your Ice Maker
The problems that show up in spring trace back to water and film that sat inside the unit during a cold pause. The cure is orderly and short. Clean with a self-clean program and a food-safe agent. Rinse thoroughly. Drain through the rear outlet and tip the machine gently to clear pockets. Dry for a day with the lid open. Sanitize surfaces with a mild solution and store upright in a warm, ventilated spot. At restart, let the unit rest upright for at least an hour, longer if it traveled on its side, then rinse and discard the first batch of cubes. Follow that order and your ice maker avoids freeze damage, keeps odors at bay, and returns to full output quickly.
Practical Notes That Match How These Machines Are Built
Countertop designs usually pump reservoir water across cold evaporator fingers or through a nugget auger. That layout rewards two habits. First, weekly cleaning during active seasons prevents scale from insulating the cold surface. Second, move finished cubes to a freezer during regular use so meltwater does not recirculate. The machine is meant to make ice quickly and often. It is not intended to hold ice at serving temperature for long. A portable ice maker can stay in service in a heated home through winter on that weekly rhythm. Whenever you plan a long pause or any exposure to cold storage, switch to the winter routine above.
Troubleshooting Signals After Storage
Even with careful prep, machines send signals. The cues below match what owners commonly see after seasonal storage and how to respond.
- Rattling or gurgling on startup: The unit may have been tilted during transport. Power off and let it rest upright longer. The noise usually fades once the oil settles.
- Cloudy cubes or a faint stale smell: Run an additional rinse cycle, then refill with fresh filtered water. Discard the first batch again and taste the next one.
- Slow production or half-formed cubes: Check water level, confirm the drain plug is seated, and verify room temperature. A very cold room slows production. A warm, level counter helps the machine stabilize.
- Drips from the rear after a cycle: Reseat the plug and O-ring. Tighten gently and wipe dry. If a film remains around the outlet, clean and rinse before the next test.
These symptoms mirror common ice maker operational issues. These issues rarely indicate failure. They point to conditions that clear with rest, rinse, and proper seating of parts.
A Short Safety Reminder Before You Store Anything
The unit is a maker, not a freezer. Move finished ice to cold storage, and do not let cubes sit in the basket for hours. Avoid abrasive pads and harsh chemicals that scar surfaces or leave residues. Favor a mild cleaner designed for food-contact areas. Keep to a weekly cleaning during active seasons, then shift to the winter routine whenever you plan a long pause or any storage in an unheated space. Simple boundaries protect the interior finish, the pump, and the sealed system, and they also keep taste consistent on day one of spring.
Frequently Asked Questions About Winterizing Ice Makers
Q1: Should I use RV antifreeze to winterize an ice maker?
No. Do not introduce RV antifreeze into the water path. Even food-grade propylene glycol is difficult to purge and can taint flavor. Fully drain and air-dry instead, store indoors, and rely on desiccants. Flush with clean water at restart.
Q2: Is compressed air safe to clear hidden water?
Yes, if used gently. Limit to roughly 5–10 psi, use clean oil-free air, and blow from the reservoir toward the drain. Short bursts only, with a towel over the outlet. Do not spin the pump dry. Finish with lid-open drying.
Q3: What storage temperature and humidity are ideal?
Keep storage above 32°F; 50–80°F with 30–60% relative humidity is ideal. Cold garages cause condensation when you bring the unit indoors. Bag the machine during transport, let it warm to room temperature sealed, then unbag to avoid moisture film.
Q4: Can I place silica gel inside during storage?
Yes. Use food-contact-safe, unscented silica gel pouches. Do not leave pouches on wet surfaces or in the water path. Place below the basket, replace every 30–60 days for extended storage, and remove all pouches before powering the unit.
Q5: Does freeze damage affect my warranty?
Usually not covered. Manufacturer warranties commonly exclude damage from freezing, misuse, or improper storage. Keep purchase records, follow a clear winterizing routine, and photograph the machine before storage. Documentation helps if you later request service for unrelated issues.
Leave a comment
All comments are moderated before being published.
This site is protected by hCaptcha and the hCaptcha Privacy Policy and Terms of Service apply.