If an ice maker has been sitting for months, do not use the first batch of ice. Drain it, clean it, descale it if needed, sanitize the food-contact areas, and run several flush cycles before using fresh ice.
Have you opened an ice maker after a long break and noticed stale water, a sour smell, cloudy cubes, or a slimy reservoir? That is a common restart problem in portable ice makers, refrigerator ice systems, and light-duty commercial units, especially when moisture sat inside the machine during storage. A careful restart clears old water, mineral buildup, and residue from the parts that actually touch your ice, so you can get back to normal use at home, in an RV, at a rental property, or in a small drink station.
Why an Idle Ice Maker Needs More Than a Quick Rinse

An ice maker is treated as food equipment, which means the surfaces inside the reservoir, ice zone, bin, and water path need to be clean before you make ice you plan to serve or drink. That matters even more after months of non-use, because old water can leave behind odor, scale, and film in corners, tubing, seams, and gaskets.
Long periods of moisture and residue can also support buildup that is harder to remove with a simple wipe-down. A federal agency’s food-processing sanitation guidance notes that infrequent cleaning and standing water are linked to biofilm formation, and that cleanable, accessible surfaces matter because liquid can collect in hidden areas if equipment is poorly maintained, as described in this equipment cleaning guidance.
In real use, the exact risk looks different by machine type. A portable countertop ice maker often traps old water in the reservoir and around the lid seal. A refrigerator ice maker may have an older filter or stale water in the feed line. A light-business or commercial unit may also have scale on internal components, more storage-bin moisture, and more parts that need inspection before service resumes.
What to Check Before You Start Cleaning

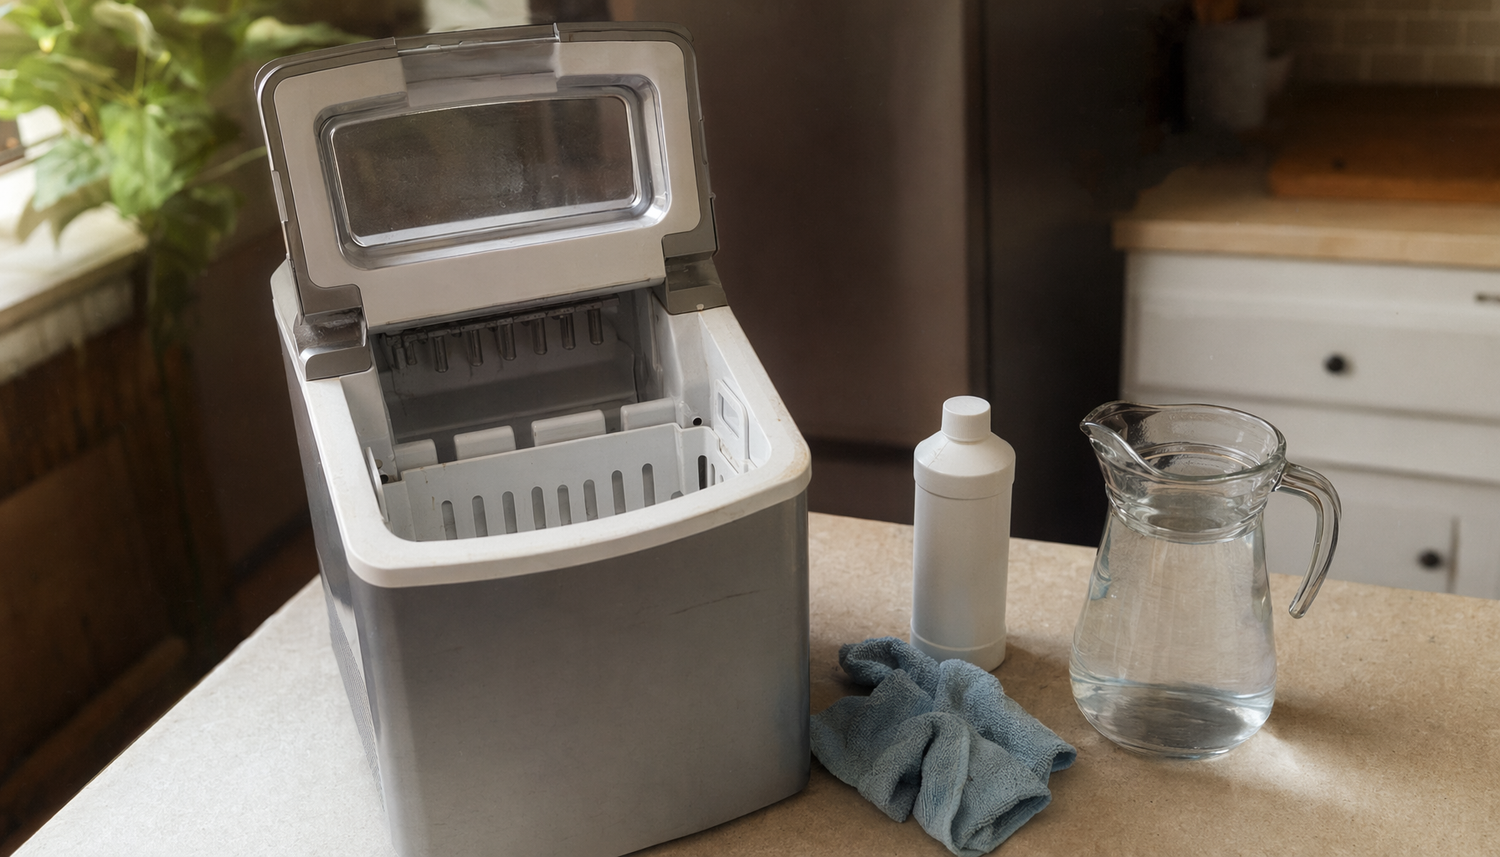
A sanitary restart begins with adequate-quality water and cleanable equipment, so begin with a basic inspection before mixing any cleaning solution. Unplug the unit or switch it off, discard all old ice, drain any standing water, and look for obvious problems such as cracked hoses, a loose drain cap, a worn lid gasket, heavy white scale, or dark residue around seams and the ice drop area.
If your machine uses a water filter, replace it before the restart rather than after the first few batches. For refrigerator-connected or undercounter units, flush the incoming water line once the new filter is installed. That step is especially important if the unit sat unused through a move, seasonal shutdown, or plumbing work.
The restart threshold changes when the machine was stored in a garage, RV, outdoor bar, or flood-affected area. Federal emergency advice for ice machines after flooding is much stricter: discard all ice, clean and sanitize interior surfaces, replace filters, flush water lines for 10 to 15 minutes, and discard ice from three full cycles before reuse. Even if your unit was not flooded, that framework is a useful benchmark when a machine has been idle long enough that you do not trust the water path.
Step-by-Step Cleaning for a Machine That Sat Unused

A proper cleaning process separates cleaning from sanitizing, and that distinction matters here. Start by removing the basket, scoop, drip tray, or any other detachable parts. Wash those pieces with mild dish soap and warm water, rinse well, and dry them fully. Then wipe the reservoir, interior walls, lid gasket, and the area where ice drops into the bin using a soft sponge or microfiber cloth.
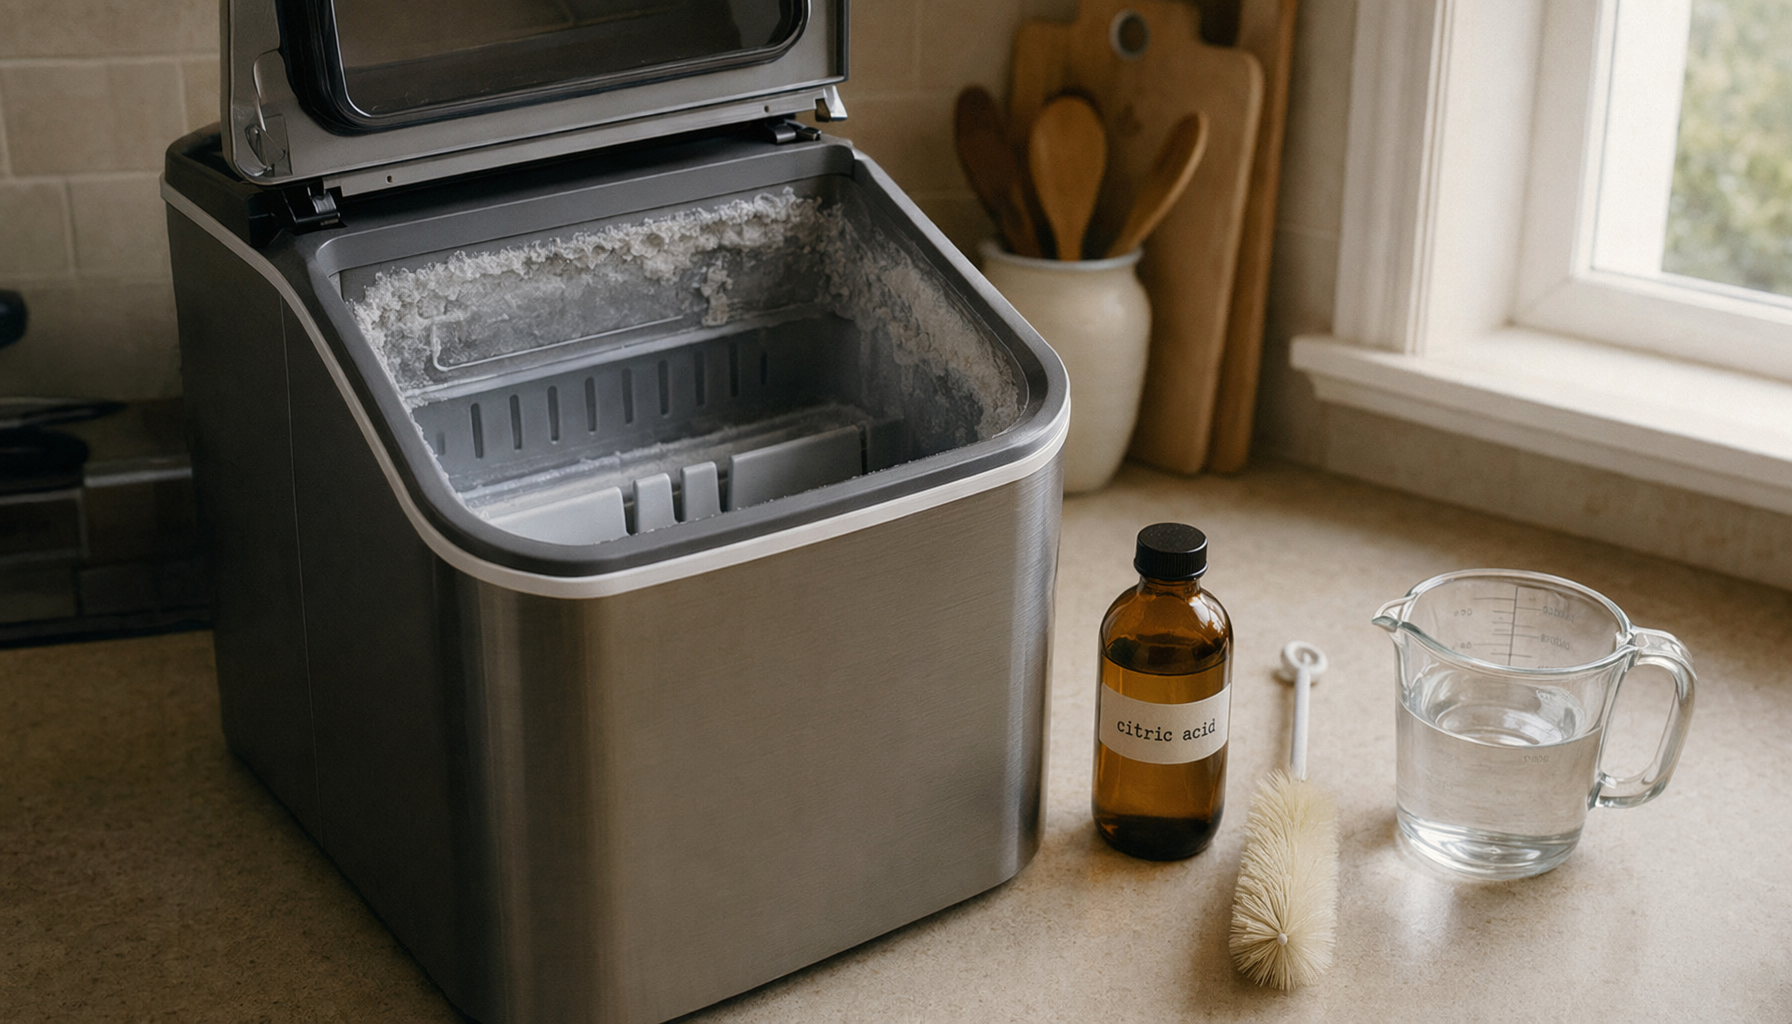
If the machine shows white crust, chalky spots, or rough scale, move to descaling before sanitizing. For many portable units, a vinegar-and-water circulation or soak is a practical choice when the manual allows it; for example, some manufacturer-style routines use diluted distilled white vinegar through the water system, followed by a full flush and discarded ice because the first batch may taste sour, as described in this kitchen appliance cleaning article. A soft brush or cotton swab helps reach corners, hinges, and seams without scratching plastic or coated surfaces.
After visible residue and scale are gone, sanitize the food-contact areas using the product and concentration your machine’s manual allows. If you are restarting a unit after severe neglect or water contamination concerns, federal storm recovery guidance gives a practical reference point for ice machines: clean the interior, sanitize it with 1 tablespoon of unscented bleach per gallon of potable water, then discard ice through three complete cycles, as outlined in this reopening guidance. Air-dry the cleaned parts when possible instead of trapping fresh moisture inside the bin.
Is Vinegar Enough, or Do You Need a Sanitizing Step?
A clean surface is not automatically a sanitary one, which is why vinegar and sanitizing should not be treated as the same task. Vinegar is useful for loosening mineral scale and reducing stale odor in water-contact passages when the manufacturer permits it, but it is not a substitute for a full sanitizing step on food-contact surfaces after months of storage.
For a lightly used portable machine stored indoors with no visible contamination, a reasonable sequence is wash, descale, rinse, sanitize, and dry. That is often enough for a countertop unit used in an apartment kitchen, guest room wet bar, or camper where the machine sat empty but otherwise clean. The same sequence also works for many home bar or beverage-cooler setups where the ice maker is only used on weekends.
A longer-idle machine or a small commercial unit deserves a stricter approach. Federal sanitation guidance emphasizes written procedures, correct chemical concentration, and attention to standing water and hard-to-clean zones in this food equipment cleaning reference. If you cannot reach important interior areas, if the manual calls for a clean-in-place cycle, or if the machine still smells off after descaling, do not stop at vinegar alone.
How Many Flush Cycles and Test Batches Should You Run?

A multiple-cycle flush is part of safe restart practice for ice machines, especially after sanitizing, filter replacement, or long storage. For a portable unit, a practical home routine is to refill with fresh water, run at least two cleaning or ice-making cycles, discard the ice, and repeat until there is no cleaner smell, vinegar taste, or visible residue. If you used a stronger descaling step or the machine was heavily scaled, plan on more than two cycles.
For refrigerator or plumbed units, three discarded batches is a sensible minimum when the water line or filter was part of the reset. Federal storm guidance specifically calls for discarding ice through three full cycles after cleaning and sanitizing the interior and flushing the water lines. That is a strong real-world benchmark for anyone restarting a machine after several months of non-use.
Your first “good” batch should look and taste normal. If cubes are cloudy after several fresh-water cycles, or if they carry a plastic, metallic, or sour taste, keep flushing. For Euhomy-style portable units and similar countertop machines, it also helps to leave the lid open for 10 to 20 minutes after drying so leftover moisture can evaporate before you reassemble and restart.
When Cleaning Is Not Enough: Troubleshooting Restart Problems

A restart problem is not always a cleaning problem, because idle ice makers can also fail due to water-supply, drain, airflow, or assembly issues. If the unit powers on but does not make ice, check the simplest causes first: the drain plug is fully seated, the reservoir is filling, the water line is turned on, the bin sensor or curtain is not blocked, and any reservoir cover or internal panel is installed correctly.
If the machine starts but makes weak, wet, or tiny cubes, scale may still be interfering with water flow or heat transfer. Run another descale cycle if your manual allows it, then flush again with fresh water. This is common in homes with hard water, in vacation properties where the machine sat unused between visits, and in small office break rooms where the reservoir was not fully drained before storage.
If the machine still will not recover, move from cleaning to repair logic. Replace the filter if you have not already, inspect hoses and gaskets for wear, and stop using the unit if you notice leaks, electrical issues, or repeated error lights. For light-business or commercial use, certified equipment standards matter because automatic ice-making equipment is built around sanitation and potable-water requirements, but those design protections do not replace maintenance or professional service when a pump, valve, compressor, or board has failed.
FAQ
Q: Can I just wipe out the bin and start using the ice maker again? A: No. A machine that has been unused for months should be drained, cleaned, descaled if needed, sanitized on the food-contact surfaces, and flushed with fresh water before the first usable batch.
Q: Should I use bleach or vinegar? A: They do different jobs. Vinegar is mainly for mineral scale and stale odor when your manual allows it. A sanitizing step is separate and is more appropriate after long storage, especially if the machine had standing water or visible residue.
Q: When should I call for service instead of cleaning it again? A: Call for service if the machine still leaks, will not fill, will not cool, trips power, shows persistent error codes, or keeps making bad-tasting ice after repeated flush cycles and a filter change.
Practical Next Steps
A good restart routine depends on clean water, cleanable equipment, and repeatable procedures. For most home and portable ice makers, the safest sequence is straightforward: inspect, drain, wash removable parts, descale, sanitize, flush with fresh water, discard early batches, and dry the unit fully before normal use or storage.
If you only use your machine seasonally, clean it again before putting it away. Dry the reservoir, basket, lid seal, and interior walls, and store the unit with the lid slightly open if the design allows it. That small step does more to prevent stale smells and frustrating restart problems than any last-minute deep clean right before your next party, road trip, or busy drink service day.
Leave a comment
This site is protected by hCaptcha and the hCaptcha Privacy Policy and Terms of Service apply.