You can clean many hidden ice maker water paths without taking the appliance apart by using a drain, flush, descale, rinse, and sanitize routine, then discarding the first ice. The key is knowing which areas a cleaning cycle can reach and when buildup means the unit needs deeper service.
Does your ice taste stale, look cloudy, or come out slower than usual even though the basket looks clean? A careful clean-in-place routine can reach reservoirs, pumps, tubing, drains, and evaporator surfaces that a quick wipe misses. Use this guide to clean a portable, countertop, or light-commercial ice maker more thoroughly without removing panels or internal parts.
What “No-Disassembly” Cleaning Can Actually Reach

Most ice makers move water through a small loop: reservoir, pump, tubing or channels, spray points or water delivery slots, evaporator area, drain path, and ice basket. When you run a cleaning or wash cycle, the solution circulates through many of those water-contact areas, which makes it useful for scale and residue that you cannot scrub by hand. A public health agency notes that ice machines are water-using devices that should be kept clean and maintained because sediment, biofilm, water age, and disinfectant residual all affect water quality in equipment that holds nonsterile water ice machines.
No-disassembly cleaning does not mean “no physical cleaning.” You still need to remove ice, drain old water, wipe reachable food-contact surfaces, clean the basket or scoop, and clear dust from exterior vents. For a countertop unit used in an apartment kitchen, RV, office break room, or small beverage station, this routine often solves stale taste, light mineral film, and slow ice caused by water flow restrictions.
Components You Can Usually Clean Without Opening the Cabinet
- Reservoir or water tank: Drain it, wipe it, and let cleaning solution circulate through it.
- Pump and internal water channels: Use the clean or wash cycle if your model has one.
- Evaporator plate or ice-making fingers: Let descaler contact the surface through the cleaning cycle, then rinse thoroughly.
- Drain plug, drain tube, and outlet: Flush with clean water until no residue or odor remains.
- Ice basket, scoop, and bin surfaces: Wash separately if removable, or wipe and rinse in place.
- Exterior air vents and condenser intake areas: Brush or vacuum dust from the outside without removing protective panels.
Start With Water, Power, and Ice Safety

Turn the ice maker off, unplug it if your manual directs you to, and discard all ice before cleaning. Old ice can hold stale flavors from the reservoir, storage bin, or water supply, so keeping it in the basket defeats the purpose of cleaning. If the unit is plumbed into a water line, close the water supply valve before draining or servicing the unit.
If the machine has been sitting unused after travel, storage, a vacation rental turnover, or a seasonal business shutdown, treat the water supply as part of the problem. Prolonged low water use can leave stagnant water in plumbing, and building guidance says ice machines may need extra cleaning beyond flushing, including discarding old ice and following manufacturer instructions prolonged low water use. For a plumbed ice maker, flush the supply line with fresh water before restarting the ice-making cycle.
When a Boil Water Notice or Water Interruption Changes the Plan
If your area has a boil water notice, do not make ice from that supply until officials say the water is safe to use. Public health guidance for boil water events says ice made after the notice should be discarded, the ice machine should stay off until the water is considered safe, and the first binful after flushing should be discarded boil water events.
After service is restored, flush the tap, drain the ice maker, clean and sanitize the interior surfaces, then run and discard the first ice. This is especially important for vacation homes, food trucks, office kitchens, and light-business beverage stations where the machine may sit idle between uses.
Use the Right Cleaner for the Job: Descaling Is Not the Same as Sanitizing

Descaling removes mineral deposits from hard water. Sanitizing reduces unwanted residue on clean food-contact surfaces. You often need both steps because mineral scale can cling to evaporator surfaces and water channels, while residue in bins, drains, and tubing can affect taste and odor. Warm, wet surfaces with sediment or scale can support buildup over time, and public health water guidance identifies stagnation, scale, sediment, and biofilm as conditions that can increase colonization in water systems scale, sediment, and biofilm.
Use only a cleaner your manual allows for ice makers. A manufacturer-approved ice machine cleaner or food-contact-safe descaler is usually the safest choice for the water path. Vinegar may be acceptable for some portable units, but it is not a universal substitute because some materials, coatings, or sensors can be sensitive to acidic cleaners.
Practical Cleaner Selection
Cleaning need |
What to use |
Where it helps |
Important caution |
White crust, slow ice, thin cubes |
Ice maker descaler or approved cleaner |
Reservoir, pump loop, evaporator area, water channels |
Rinse repeatedly before making ice |
Stale taste or bin residue |
Mild dish soap for removable parts, then approved sanitizer |
Basket, scoop, bin, lid, reachable surfaces |
Do not leave soap film in the reservoir |
Post-storage restart |
Descale if needed, then sanitize and flush |
Full water path and bin area |
Discard the first batch or bin of ice |
Heavy slime, visible contamination, repeated odor |
Stop using and inspect for deeper service |
Tubing, drain, pump area, hidden crevices |
No-disassembly cleaning may not be enough |
Avoid mixing cleaners. Do not combine vinegar, descaler, bleach, ammonia, or sanitizer products. Stronger is not automatically better; overly concentrated sanitizer can damage surfaces or leave odors and tastes.
Step-by-Step: Clean Hidden Ice Maker Parts Without Taking It Apart

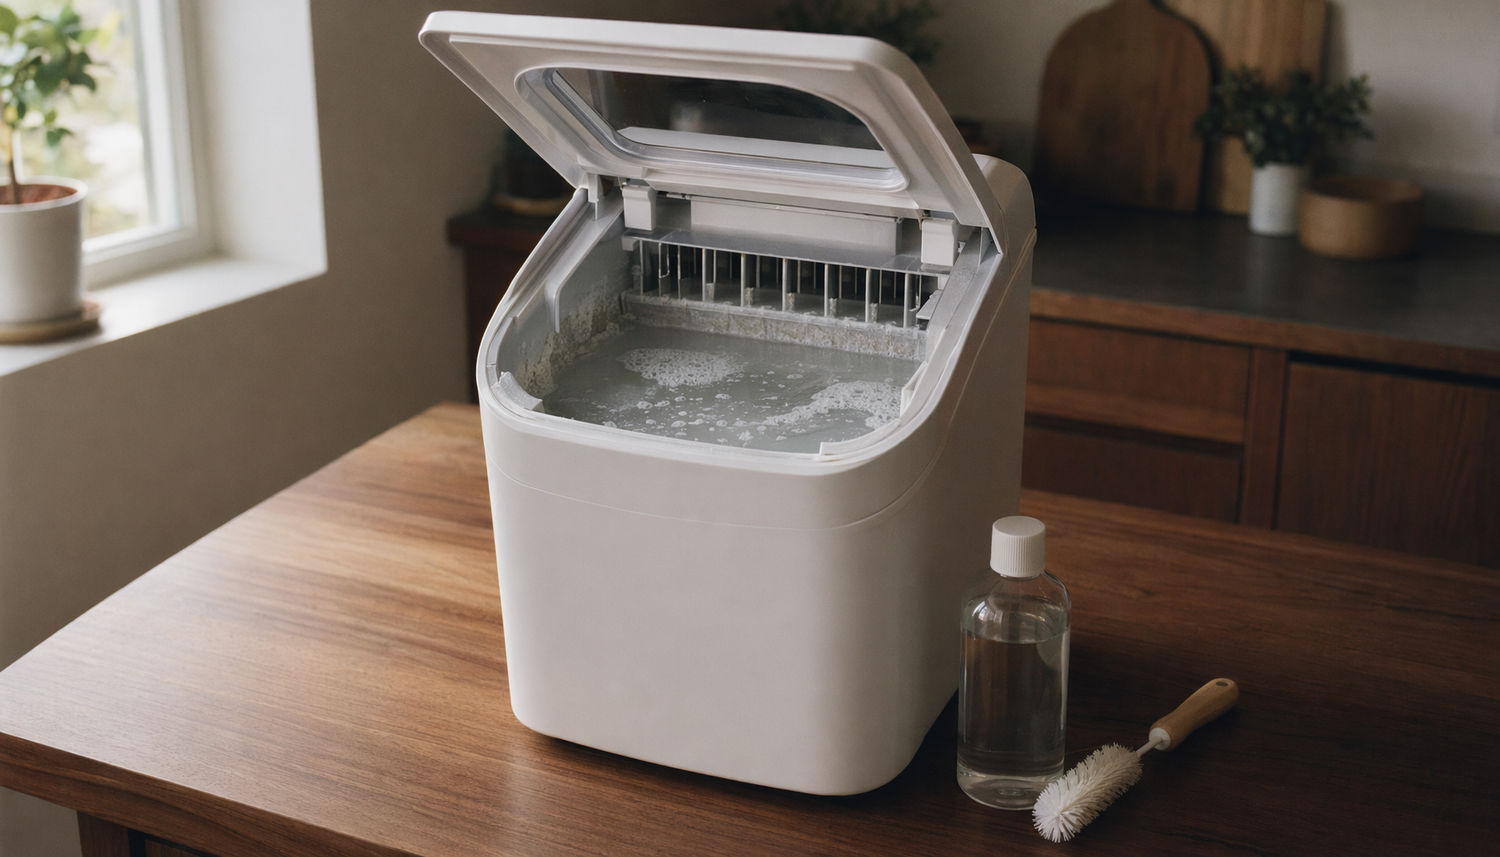
Start by emptying the unit completely. Remove the ice basket and scoop if they lift out, wash them with warm soapy water, rinse well, and let them air dry. Drain all standing water from the reservoir or rear drain port, then wipe reachable interior surfaces with a soft cloth.
Add the approved cleaning solution to the water reservoir at the amount listed in your manual. Run the clean, wash, or self-clean cycle; if your unit has no cleaning cycle, let the machine circulate water without saving the ice it produces. A 20- to 30-minute cleaning circulation is a common practical range for light scale, but follow your specific manual because long exposure to acidic cleaner can be hard on internal parts.
Clean-In-Place Routine
- Turn the machine off and discard all ice.
- Drain the reservoir and wipe loose residue from reachable surfaces.
- Add the approved cleaner and fresh water at the correct dilution.
- Run the clean or wash cycle.
- Drain the cleaning solution completely.
- Refill with clean water and run a rinse cycle.
- Drain and repeat the rinse at least two more times if any cleaner odor remains.
- Sanitize only after cleaning and rinsing, using a product and contact time suitable for ice-contact surfaces.
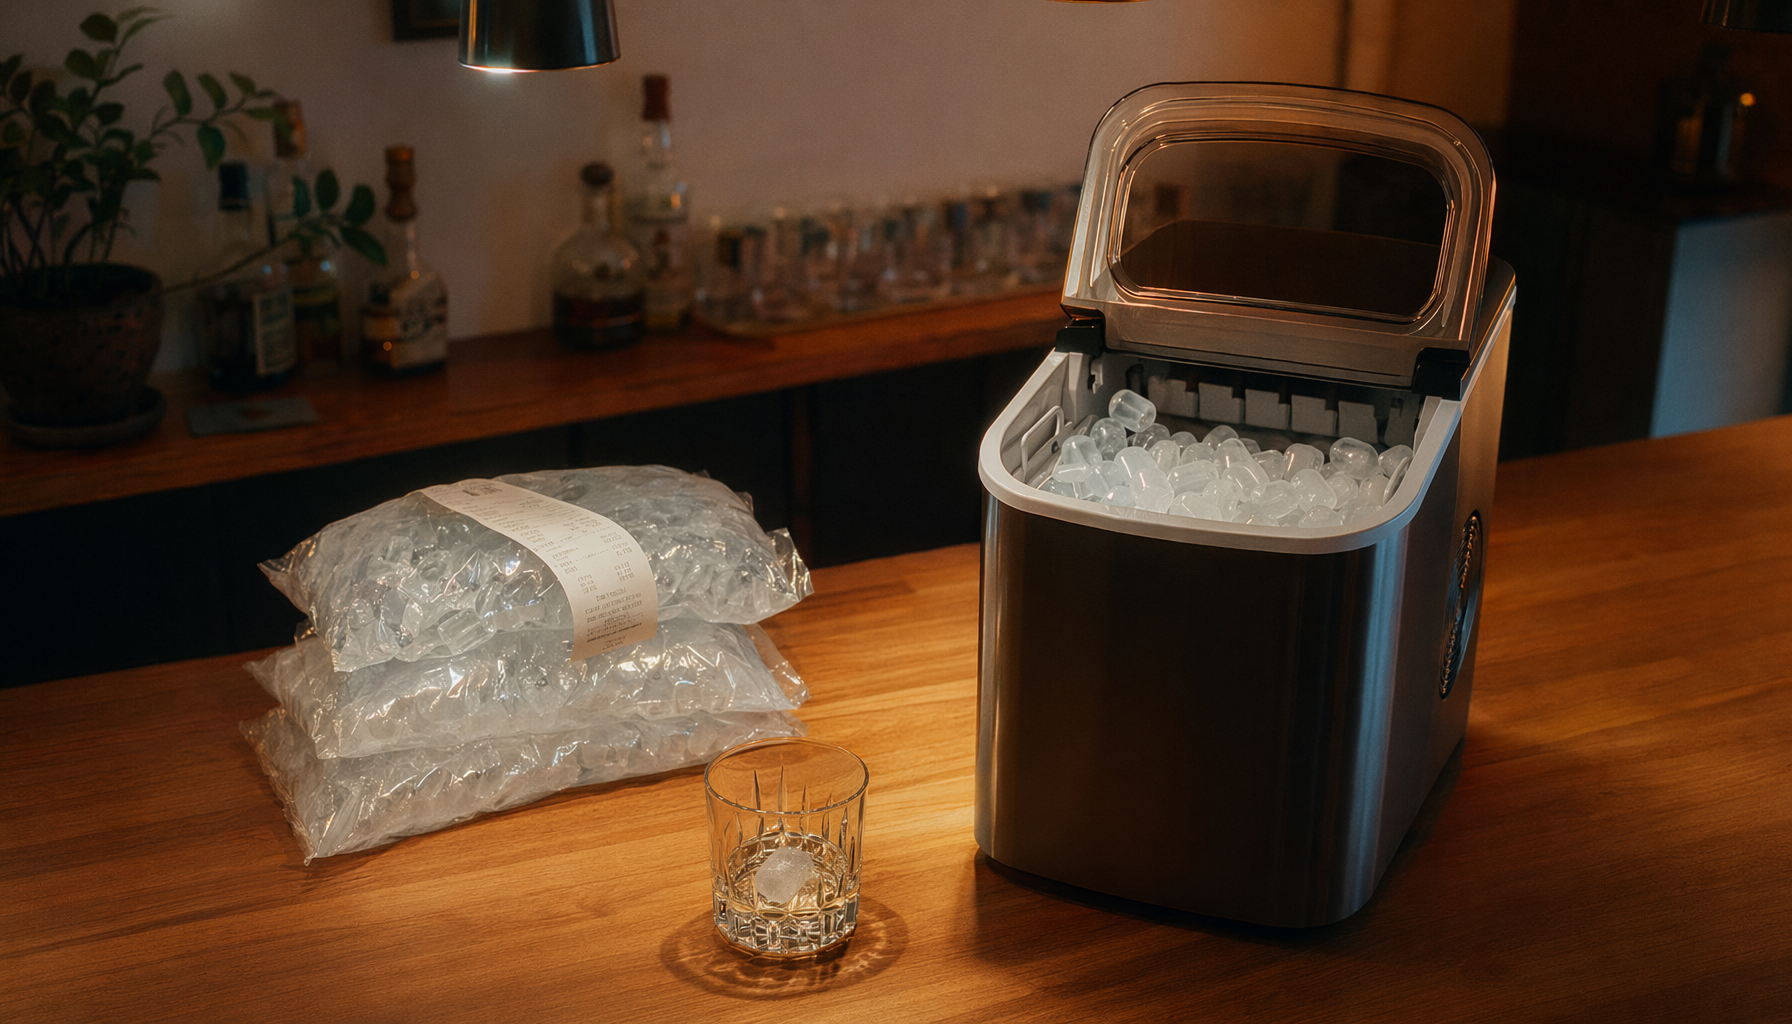
- Run one or two ice-making cycles and discard the ice before using the next batch.
For plumbed or commercial-style machines, filter maintenance matters too. A public health agency’s device guidance specifically includes cleaning ice machines regularly and replacing filters according to manufacturer recommendations replacing filters. A clogged or overdue filter can restrict water flow, slow production, affect taste, and leave the cleaning cycle less effective.
How Often to Clean Portable and Commercial Ice Makers

For a home countertop ice maker used a few nights a week, a light drain-and-rinse after use and a deeper clean every few weeks is a practical baseline. If you use hard tap water, leave water standing in the reservoir, or take the unit camping or tailgating, clean more often. Before storage, drain it completely, leave the lid open until dry, and store it with the basket and scoop clean.
For office kitchens, break rooms, coffee bars, and light-business beverage stations, monthly to quarterly cleaning is a more realistic schedule, with more frequent attention during heavy use or hot weather. Public health response guidance for water-related organisms emphasizes regular cleaning, disinfecting, and maintenance of ice machines according to manufacturer instructions regular cleaning.
Use Symptoms to Adjust the Schedule
Clean sooner if you notice cloudy ice, smaller cubes, slower production, pump noise, stale taste, water backing up in the drain area, or visible film in the reservoir. These symptoms do not always mean a serious problem; they often point to scale, old water, blocked airflow, or residue in the water path.
If cleaning improves performance for only a day or two, look deeper. The issue may be an old filter, kinked water line, weak pump, dirty condenser, failing sensor, or heavy buildup in tubing that a cleaning cycle cannot fully reach.
When No-Disassembly Cleaning Is Not Enough

Stop relying on cleaning cycles alone if you see persistent dark residue, thick slime, cracked tubing, leaks, burning smells, electrical issues, or recurring error codes. Hidden fluid pathways that look visibly contaminated may need part replacement or professional service because sanitizers may not remove established biofilm from every internal surface visibly contaminated.
A technician is also the better choice for commercial ice makers serving customers, guests, or staff all day. These machines often have larger pumps, filters, evaporator assemblies, drains, and condensers that need scheduled service. For high-use beverage stations, the cost of preventive maintenance is usually lower than losing production during a busy weekend or serving ice with off flavors.
Troubleshooting After Cleaning
- If ice is still thin: Check water level, filter age, water pressure, and mineral scale on the evaporator area.
- If the machine is noisy: Confirm it is level, remove loose ice, clean vents, and check whether the pump is running dry.
- If ice tastes stale: Replace old water, clean the basket and scoop, rinse the reservoir again, and check the supply filter.
- If the unit leaks: Inspect the drain plug, supply connection, reservoir fill level, and floor level before running another cycle.
- If production is slow: Clean dust from exterior vents and give the unit more clearance for airflow.
FAQ
Q: Can I pour cleaner directly into the ice maker water tank?
A: Yes, if the cleaner is approved for your model and diluted according to the label or manual. Do not pour concentrated cleaner into the machine unless the instructions specifically say to do so. After cleaning, drain and rinse until there is no cleaner smell before making ice for drinks.
Q: Is vinegar safe for cleaning hard-to-reach ice maker parts?
A: Vinegar can help with light mineral scale in some portable ice makers, but it is not right for every machine. Use it only if your manual allows it, and rinse thoroughly. For heavier scale or commercial units, an ice-machine cleaner designed for the appliance is usually more predictable.
Q: Why does my ice maker still smell after I cleaned it?
A: The cause may be old water, a dirty basket, a clogged filter, residue in the drain path, or buildup in tubing that the cleaning cycle did not fully reach. Drain the unit, repeat the rinse, clean removable parts, replace the filter if due, and stop using the unit if odor returns quickly after a full clean.
Key Takeaways
No-disassembly cleaning works best as a regular maintenance routine, not a rescue method for severe buildup. Drain old water, descale the water path, rinse thoroughly, sanitize clean food-contact surfaces, and discard the first ice after cleaning.
For portable Euhomy-style home and travel use, clean more often when water sits in the reservoir or ice taste changes. For plumbed, office, or light-commercial ice makers, add filter replacement, water-line flushing, airflow checks, and scheduled service to keep production steady and ice tasting fresh.

Leave a comment
This site is protected by hCaptcha and the hCaptcha Privacy Policy and Terms of Service apply.